Are you ready to get started on your journey to digital freedom? We tried to design Citadel to be as easy to use as possible and want to make the install process easy.
DIY or purchase prebuilt?
Currently, you will need to build your node by yourself. We’re working with some hardware partners to offer even more convenient solutions you can also use.
You can learn more about the projects on the sites of DTV Electronics and Nabi.
What you need
- A Raspberry Pi 5 with at least 4GB of RAM (Our software supports the Raspberry Pi 4, but the recommended set of hardware is incompatible with it)
- A SSD with at least 1TB of disk space (We recommend 2TB)
- A HatDrive bottom to connect the SSD
- Raspberry Pi power supply
- A SD card (8GB is enough, you don’t need more)
- A computer with an SD card reader
Estimated cost of our recommended setup (8GB RAM, 2TB SSD, excluding the computer): $259.37
Flashing Citadel
First, you need to connect the SD card to your computer.
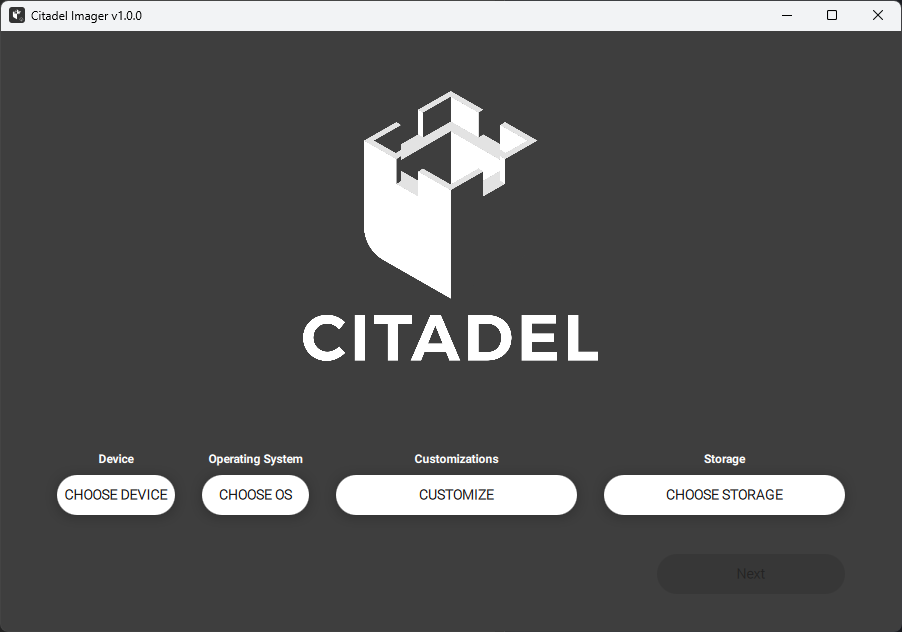
To make installation as easy as possible, we provide an optimized installation tool for Windows that allows you to configure the most important settings.
Download the Citadel installer
For cost reasons (We’d have to buy a Mac and pay $99/year), we decided not to provide this tool for macOS. We’re also not providing a Linux version yet. You can instead manually flash the image to an SD card using Balena Etcher:
Assembling everything
After flashing, remove the SD card from your computer and put it into your Raspberry Pi. Then, connect the HatDrive to the Raspberry Pi, the NVME SSD to the HatDrive and the Raspberry Pi to the internet if you decide to use Ethernet.
Finally, connect the Raspberry Pi to power.
Accessing Citadel
For the last step, open a web browser on your computer and visit http://citadel.local.
And you’re done!